Wednesday, 28 August 2013

Jenny's Chair


A special present for a special birthday. From local ash I felled earlier this year.


Danish cord seat


2 Oak pins hold on each side hold the back panel in place.


Monday, 6 May 2013

Wedding Present

A good friend of mine got married this weekend, not thinking much of John Lewis and his wedding lists I decided a personal touch might be appreciated... Finally finished the beast last week, it's all hazel, carved green. The rack base is hewn from hazel by axe and the beam was bent by pouring boiling water over it to soften then setting with rope ties.


The tenons are held in the mortices by small hazel pins. 


Carving 6 spoons all nearly the same was harder than I thought... Here's the reject pile... Don't worry, they'll all live on somewhere.


Congratulations to Geoff and Laura Smith, best wishes and lots of love for the future.

Wednesday, 24 April 2013

Chestnut Hurdles

This is the current view from my back door...


It all started with a need to keep the sheep from running amok and what better way to do it? Well, with two of my favourite things: a greenwood project, with a regional theme (I'll explain in a bit...).

Chestnut hurdles were used throughout the country for penning stock. 'Down on the Marsh' (Romney Marsh for those not in the know), chestnut hurdles were used as the sole fencing method for many years before wire fencing came about (conditions not being conducive to hedges or other boundaries) young lads would cart several hurdles on their backs over the marsh to fold their wards on fresh grazing. Obviously they had many uses on the farm and came in many different styles: "I had a chap ask me to make some bullock hurdles once," Colin Town, a local woodsman (and my chestnut supplier) told me when I picked up my timber. "six foot to the top they were, 'course you knew it when you had to shift one of those things" he laughed. Colin is an old time woodsman, one of the last few of his era and a wealth of knowledge to anyone who takes the time to listen.

Chestnut was the obvious choice for hurdles, chestnut coppice being prevelant in the South East. Colin sells thousands of chestnut spiles for fencing each year "The local farmers know chestnut's the only thing for fencing, that cheap soft wood only lasts 4 or 5 years before it falls over, the chestnut'll last 25 years before it even looks worn, they used to last even longer when we were allowed to use creosote. Before that we used to boil them standing in tar til the tar bubbled out the tops... Not much chance of them rotting then..."

Under Colin's guidance I split the timber he had selected for me using his scratch (that's a brake if your not a Man of Kent) and his Doll Axe (froe - again if your not from round 'ere). Measuring an old hurdle in a section of hedge he told me it was probably over 50 years old, "used to make a lot of these, time ago - I used to enjoy it, no one wants to pay the money these days... Still, young Tom, you should be making eight of these a day - I'll give you a ring tomorrow to see how you got on...). Maybe not eight but I'll be giving it a go none the less.

Apparently, Kentish hurdles are particular in their use of a metal ferrule on the top of the heads (uprights). "stops 'em splitting out and means you can drive 'em a bit, mind they don't want much pounding, just put your foot on the bottom rung to set 'em in..."


The nails are 2.5" driven straight in, I pilot dilled a few but gave up (too lazy) it was initially abit nerve wracking as we all know how chestnut likes to split... Luckily everything behaved. The nail heads are not driven flush (on Colin's advice) to allow for removal in the event of repair.


The metal ferrules are made from sections of car exhaust pipe, squashed in a vice, drilled and nailed with a short tack to the top of each head. the purple discoloration is a reaction of the metal with the tannins of the wood.

The overall construction was quite quick, mortices drilled and chiseled out and tenons cut on the shave horse. I have made 4 with the pile of timber I started with, I'll be after some more soon as shearing will be coming up and I'll need some more for penning up. Next time I'll take some action shots to up the excitement levels...


Tuesday, 9 April 2013

What a delightful bush...

Not that I want to brag or anything, but these trophies look sick on my window sill... This year was my third year entering The South of England Hedge Laying Society 29th Annual Competition, I was  lucky on the draw for my cant and the stakes and binders were nice and straight (cleft chestnut that was already pointed!) so most of the hard work was already done, but I was still pretty pleased with the result. Unfortunately I didn't take any photos as I was scared for my cameras safety - last time I got drenched for 4 hours and nearly died of hypothermia... Competition day was a cold and crisp and dry as a bone - perfect hedging weather - and I only slipped in the ditch once...


The axe is for Most Improved Novice 2013


First Place Novice Class 2013


Score card and Best Stakes and Binders

Next year I will have to compete in the senior class against the pros with their chainsaws... I wont stand much chance as there is an extra 3 yards! Still, there is a prize for best axe-work, so who knows...


This is the prize I won last year when I entered Living Woods Magazine spoon carving competition. I think there were only 3 entries but either way I got myself a voucher for Mora Knives at Classic Hand Tools! If you like woody things like trees 'n' stuff, LWM is worth a butchers: www.living-woods.com

Sweden '13 - Gloat-Post

This January I  was lucky enough to catch up with an old uni friend who is Swedish and studied in the UK. He lives in the lovely town of Udevalla which is impressively built, seemingly on nothing but granite and sea. We managed to do a fair bit of travelling and we used this excuse to visit what I feel (although I'd never been there...) to be my spiritual home - Mora. Located in the heart of Dalla Land, famous for Dalla Horses and cracker bread, Mora is the home of a particular knife factory. Unfortunately the factory is closed over the winter months to visitors but I did manage to find a shop selling the coveted Morakniv. I found myself a traditional red-handled No. 2 which has rapidly become my favourite carving knife. I also bought a knife blade with the intention of putting a wood and antler handle on it with a matching wood and leather Sami-esque sheath... One day...


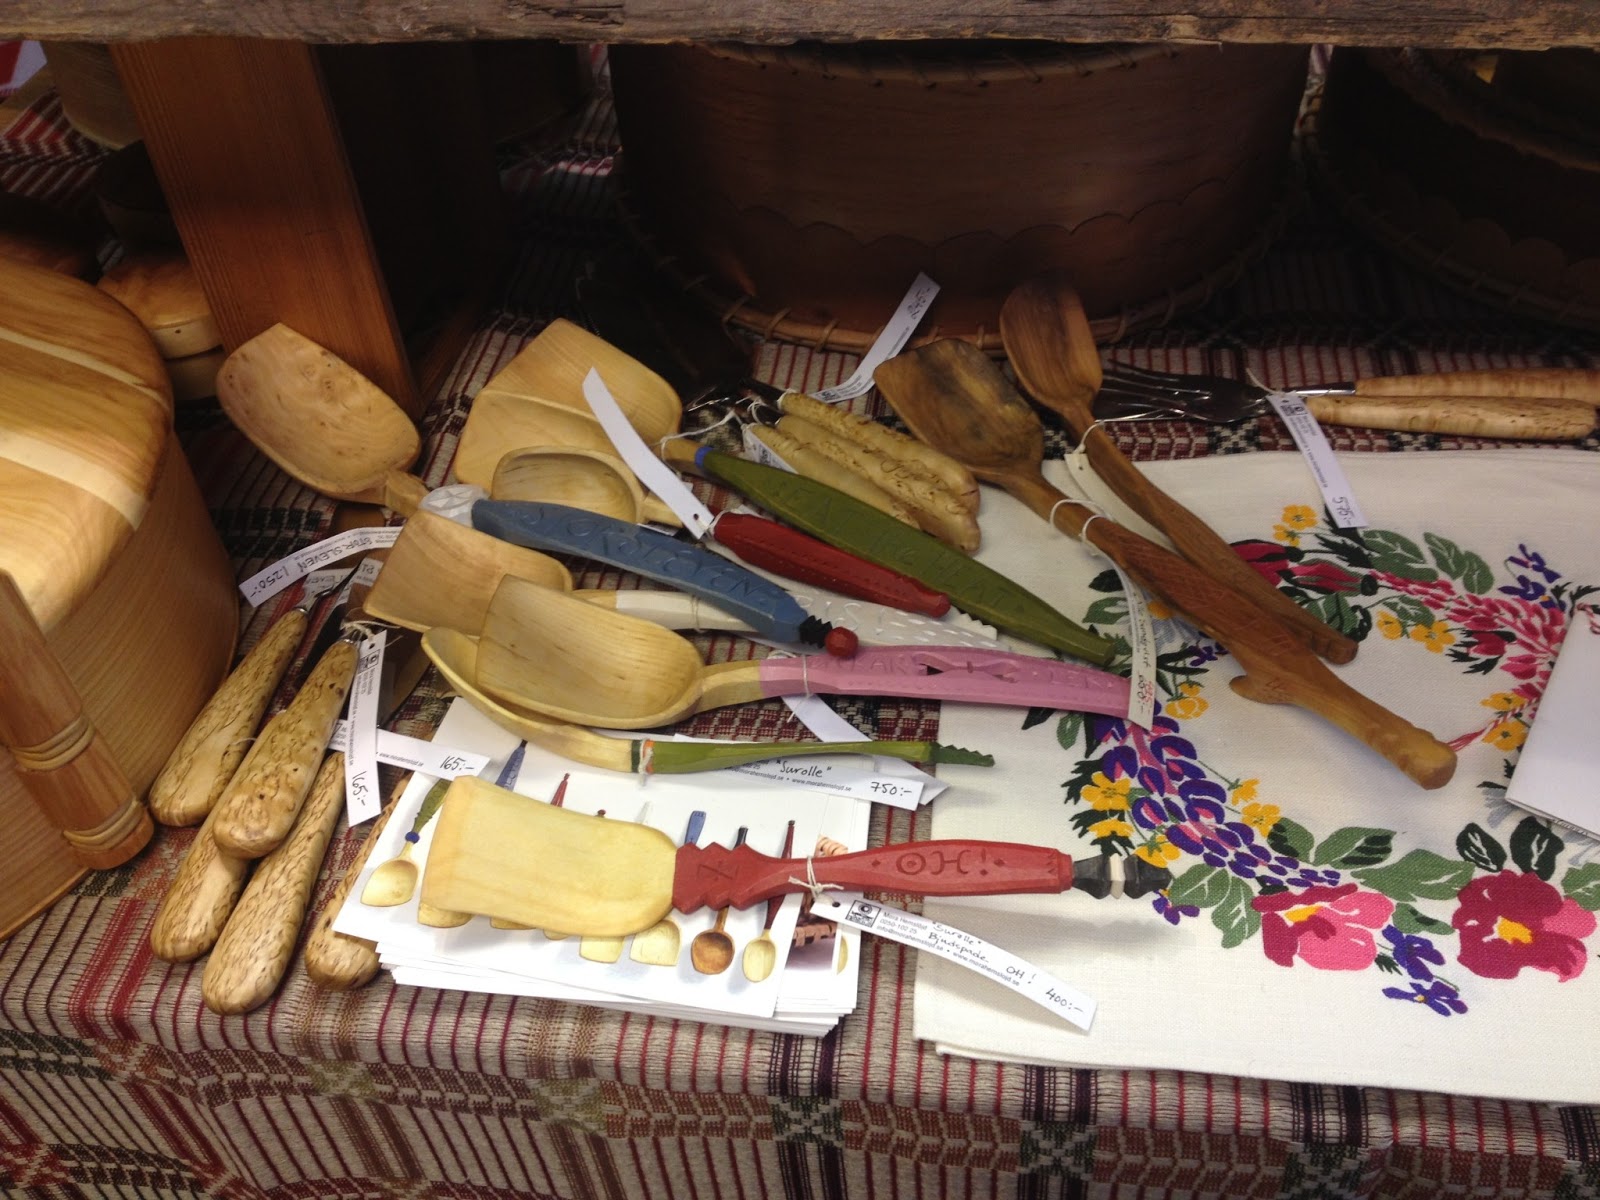
The fantastic Hemslojd shop is full of amazing traditional Swedish handcrafts - from carved spoons and bowls to authentic Lapland clothing, if only I were richer... Check it out here: www.morahemslojd.se


Some Sundqvist spoons... Well it was Sweden...


Our new, somewhat unhinged friend Marcus.


Sunday, 17 March 2013

Axe Wisdom

For this post I would like to share my limited wisdom of rehelving axes in the hope that I may be of use... After all, a fool learns by his own mistakes and a wise-man learns by others... This isn't intended as a tutorial and some prior knowledge of axes is assumed, maybe one day I'll get around to a tutorial.

This was the first axe head that I made a handle for, it was a labour of love, made in the kitchen of my student house, clamped to the work surface and shaped with a spoke shave, the wood was seasoned ash that I saved from the firewood pile. The head had had a rough life (chopping wood on a concrete path I suspect) and required serious regrinding, which I did by hand with some motor oil and an old oil stone. The wedge was oak with a second metal wedge placed parallel to the first. Before it was fitted finally, the head and wedges were smeared with a fiberglass based epoxy filler to make sure they didn't budge. This is pretty much how I rehandle all of my tools, but I have learnt a few lessens along the way...


1- Handle cross section - make sure its well rounded, oval even. Rectangular sections with rounded corners are no good - blisters. Also don't let the handle section closest to the head develop a point (on the blade side) I did this as I thought it was a nice transition into the shape of the eye. It makes controlled axe carving and throttling the axe (as needed for hedge laying) nigh on impossible. Its far better to have a shoulder at the transition point and retain the function of the tool. Its also worth considering if you want the butt end of the helve to flare, as I forgot to do here as it can aid grip during full swings.


2- Head wear - if its heavily worn either cut your losses or get an electric water stone or similar to bring the edge back to a sensible profile. Make sure you bring the angle of the blade back to a narrow cutting edge or the heavy shoulders will mean its no use for anything but splitting. Beware using an electric grinder as its easy to cook the steel and ruin your temper. Also note that if you have to pull the edge back a long way it might be beyond the temper line and you may run into a section of soft steel regardless.

3 - Dry timber - dry the helve out thoroughly for several days in the warmest spot in a normal house - its surprising the difference in moisture content between house and shed stored wood. If like me, you keep your axes in the house and there is a little residual moisture in the helve, you will find your newly fitted head may be a little loose by the next time you come to use it as it dries and shrinks!

4 - Handle length - the head is 2.5lb Eagle Edge Kent pattern axe. It would originally have been fitted to a handle about 12-18" long. When I did this axe I only really new about Gransfors axes, so I worked out the dimensions relative to the 2.5lb forest axe. I feel this head is far too light for this length helve in the situations I wanted it for (mainly carving and hedgelaying), this is my personal requirement  but perhaps the originals were short handled for a reason?

My second and third axes suffered a slightly different problem, as by this point I had learnt from and used the first axe a little, noticed its flaws and decided it was no good... Its still walking a fine line between getting recycled or just being hidden from sight.

5a - Building up bulk - this helve I found at a bootfair for a few quid and thought it might be useful for this 4lb topping axe. Topping axes inherently have enormous eyes and I thought a good solution could be to build up bulk with layers of laminate glued in place then shaped down. The layers were fine sawing of ash which were glued and held in place with a piece of bicycle inner tube, wrapped around as tightly as possible and finished with a squeezy clamp.


The cartoon below shows the layers which were added (red) the wedge (black) and a fore-wedge (yellow) this was placed as the eye was so big that the head just wasn't going to fit, so I planed the front down to a nice flat surface and fitted the wedge to slide down snugly. Some might argue that it looks a bit of a mess, but I think it was worth the effort as the axe is a dream to use and the head is very sound after several trials in the field! 


 5b - Replacing lost bulk - this is my little spoon carving axe, I made the whole helve from a piece of seasoned ash that I milled out on the old man's bandsaw and shaped with drawknife and spokeshave. During the fitting process I got a little carried away with the spokeshave and ended up with the head slightly too small at the back. Reluctant to restart after all the hardwork, I decided to recreate the lost bulk by removing the back section as a taper and replacing it with a suitable section of ash. This was then reshaped correctly and the head fitted properly. I still haven't fitted a steel wedge here as I was too scared of splitting the shaft but I have carved hundreds of spoons with this axe and there isn't even a sign of slipping. Testament to the strength of the fiberglass epoxy I suspect... 


More axe related posts to follow, hopefully a little less technical/dry with some nice pictures...


Tuesday, 22 January 2013

The Mother of all Christmas Presents

Someone had a bright idea that, after our course in the woods, it would be a good idea for my brother and I to make The Mother a rocking chair for Christmas. This is the epic tale that followed...

The plan was to make a green wood, round framed ash rocking chair with a woven seat. The whole project took 3 months of odd evening and weekend sessions. Ingenuity will out, and we begged, stole and borrowed enough to pull it all together. 


Rocker HQ - my kitchen. This is how it stayed for 3 months.... All of the components were made by hand on a shave horse with draw knife and other hand tools and dried in the airing cupboard.


Baking and woodwork go hand in hand... 


Jack procured a log by hook and crook, this we split with sledge hammer, wedges and froe.


Homemade cleaving break


Homemade steam box that jack made with "borrowed" oil barrel boiler


Assembling the side panels


Completed side panel (back legs need to be cut down)


Mocking up with dummy rungs to measure the back slats


Cramping up 


Arms and rockers ready to be fitted.


The whole thing is held together with 6 small oak pins and 2 oak wedges in the arms.


Finished with a seat woven from Danish Cord- pattern produced from frantic scribbling on a note pad and trial and error!


The finished article.
A job well done.
Relax.